Showing posts with label Parve. Show all posts

July 20, 2012

Gimme Some mo' Samosas!!


A good friend of mine introduced me to samosas, and I absolutely fell in love with them. After all, how could you not like a deep fried, vegetarian, spicy thing? So, I decided to try and make them, and while they definitely took a little tender loving care, they were well worth it.

Filling Ingredients:
- 3 to 4 Russet potatoes (cook in the microwave on the "potato" setting and then peeled and diced)
- 2 to 3 Anaheim chiles seeded and finely diced
- 1/2 to 1 cup of frozen peas
- 1 tsp. cumin seeds
- 1 tsp. coriander
- generous 1/2 tsp of garam masala (Indian spice blend)
- 1/2 tsp. chili powder
- approximately 2 tbsp. olive oil and salt and pepper to taste
- Optional: I added some chili flakes and some cayenne pepper for some extra heat

Filling Directions:
- Use a fork or knife to poke a bunch of holes in the sides of the Russet potatoes, loosely wrap a paper towel around them, and microwave one at a time on the "Potato" setting.
- Peel the skin off of the potatoes and then dice them into fairly small cubes. They don't need to be precise and it's okay if they get a little mushed.
- In a medium sized sauce pan, heat up the 2 tbsp. of olive oil over medium heat. 
- Drop in one cumin seed to see if the oil is hot enough. If the seed starts to bubble a bit or pop, add in the rest of the cumin seeds and stir.
- Then, add in the Anaheim chiles, the coriander, and the peas and cook for about a minute until the peas are almost cooked through.
 - Add in the potatoes, the garam masala, chili powder, and salt and pepper (be generous, potatoes need a lot of salt) and the chili flakes and cayenne pepper if you want. 
- Mix all of the ingredients together and cook over medium heat for about five minutes. Taste the mixture to see if the seasoning is correct, and adjust as needed.
- Remove the mixture from the sauce pan and place it in a bowl to cool.

Dough Ingredients: (yeilds 16 samosas)
- 1 cup of all-purpose flour
- 1 tbsp. of semolina flour
- 1/4 tsp. of salt
- 3 tbsp. canola or vegetable oil
- 1/2 cup of warm water (you may not need to use all of it)

Dough Directions:
- In a large wide bowl, use your hands to mix together the flours, salt, and oil.
- Then, pour in a little of the water at a time and continue mixing/kneading the mixture until it forms into a dough. (Should leave about 1 tbsp. of water in the measuring cup, you don't want the dough too gooey.) Use your knuckles to really knead the dough well, form it into a thick disc, and leave in the bowl to rest for about twenty minutes.

LET'S MAKE SOME SAMOSAS!!

Samosa Directions:
- Take the dough and divide it into two equal halves.
- Take one of the halves, and divide it into four equal pieces rolled into balls.
- Take on of the balls at a time and use a rolling pin to flatten it out on until it has a diameter of about 5 to 6 inches across. *DO NOT USE ANY ADDITIONAL FLOUR ON THE FLAT SURFACE OR THE ROLLING PIN! 
- Use a sharp knife to cut the circle in half right down the center.
- Pick up one of the halves, and use you finger to dab a little bit of water along the straight edge.
- Then, hold each side of the straight edge and fold them up towards each other and press/pinch them together to form a cone shape. Make sure it's pretty tightly sealed so the filling won't come out.
- Hold the cone carefully around the edge like I am in the picture above, and then carefully put one spoonful of the filling in at a time, gently pushing it down into the cone until it's filled almost to the top. *Dough is very stretchy and you don't need to leave a very big lip at the top.
- Once the samosa is filled, use you finger to dab a little bit of water around the edge, then fold in the sides over each other.
- Flip it over in your hands, and gently shape the samosa and then set it on a tray or cutting board until you're ready to fry it.
 - Follow the same steps for the other half of the circle, and continue to repeat the steps until all the dough has been used.
- Then, heat up your deep fryer or large pot with canola oil over medium/high heat. Take just a tiny piece of the extra dough and drop it in the oil, if it starts bubbling, you're ready to put in your samosas.
- Gently place the samosas one at a time in the oil and cook until golden brown on all sides. They really come out better if you keep the temperature of the oil at medium/high and not let it get too hot.
- Once they are golden brown, remove them from the oil and place on a paper towel to soak up any excess oil and grease.
- As soon as they've cooled down.....EAT THEM!!!!

July 4, 2012

Pie Pops


Here's a fun and easy (easier than cake pops anyway) recipe to make your very own Pie Pops. That's right, Pie Pops, little pies...on a stick! And who doesn't love eating food on a stick? (That was very Paula Deen of me. I apologize.) It may seem like there are a lot of steps and directions, but if you read it all the way through, it's really pretty simple.

Pie Crust Ingredients: (Yields approx. 18 Pie Pops)
- 2 1/2 cups of all-purpose flour
- 1/4 tsps of salt
- 3 tblsp. sugar
- 1 cup (2 sticks) cold butter or margarine diced into cubes (I use margarine to make it non-dairy)
- 1/4 cup of ice water

Other materials:
- Short and thick skewers or thick lollipop sticks
- Circle Cookie Cutter (2 inch diameter)

Directions:
- In a large mixing bowl, put in flour, salt, sugar, and butter/margarine until butter is broken up and the mixture is a little grainy. (I use the paddle attachment on my stand-mixer on medium speed.)
- Slowly add in ice-water and let the mixture go until just combined. If you need to add a little more ice water, you can, just add a very little bit at a time.
- Take dough out and roll into a large disc, then split that dough into 2 smaller discs, wrap in plastic wrap and then put in the refrigerator until you're ready to make the pops (at least a half-hour). Don't handle too much because you don't want the heat from your hands to ruin the dough.

What about the filling?
So, here's the deal, I don't really like pie. The only type of pie I might try is blueberry pie, so I decided to make a blueberry filling for my Pie Pops. However, you can fill them with whatever sort of filling you want. Heck, you could probably put a nice hazelnut or chocolate filling in them and they would probably be just as delicious.

Blueberry Filling Ingredients:
*This is the whole recipe which makes waaayyyyyy more blueberries than you'll need for the pops. So, you can either cut this recipe in fourths (1 cup of blueberries, 1/4 cup of sugar, 1/2 tblsp. corn starch), or you can double the pie crust recipe, make four discs, and use two of them to make pie pops and the other two to make a regular ol' blueberry pie).
- 4 cups of fresh blueberries
- 1 cup of sugar
- 2 tblsp. corn starch
- Splash of lemon juice (you can add lemon zest too if you want)

Directions:
- In a small skillet, pour in blueberries, sugar, corn starch, and lemon juice and cook over a medium/low heat for approximately 10-12 minutes then set aside to cool.

NOW YOU'RE READY TO MAKE PIE POPS!!

Directions:
- Preheat oven to 375 degrees.
- Take out one of the discs of pie crust from the refrigerator (I use one disc at a time so I don't take up too much space and the dough won't get too warm) and, on a floured surface, use a rolling pin to roll the dough out until it's between 1/8 to 1/4 inch thick.
- Using a circle cookie cutter (2 inches in diameter), cut out as many circles as you can from the dough. Take the excess dough, roll it back into a ball, roll it out, and continue to cut out circles until you've used most of the dough. *Once the first disc of pie crust is gone/almost gone, use the second one.
- On a non-stick baking sheet, space out the circles (approximately 8 at a time) and place a skewer/lollipop stick in the center of each one. Push the sticks down a little bit so they stay in the dough.
- Then, scoop a little bit of the filling and place it right in the center of the circle. (They don't need very much filling and don't put too much of the juice from the filling.)
- Next, take another one of the circles (you may need to stretch it out just a little bit) and place it over the fruit and push down the edges gently, just enough so the two circles are closed. (Some juice from the filling may come out....that's fine.)
- Use a fork to go around the outside of the circles and crimp the edges together. *You may want to use a small paring knife to make three small slits on the top for air vents.
- Brush a little bit of egg wash on the top of each pop. (One egg with 1 tblsp. of water combined.)
- Sprinkle a little bit of sugar on the top of each of the pops.
- Put the pops in the oven for 25 minutes.
- When you take them out of the oven, use a metal spatula to carefully remove them from the cookie sheet and lay them flat to cool.
- Eat the pie pops.
- Say, "Yum!"

April 30, 2012

Garlicky Broccoli Pasta


Ingredients:
- approx. 8 oz of pasta (I only use whole wheat pastas, and for this recipe, I like ones that kind of catch some of the garlic and broccoli, like fusilli or macaroni.)
- 12 oz of broccoli florets
- about 7 cloves of garlic crushed or chopped finely
- 1/4 to 1/2 cup of milk (I use non-fat) or Mocha Mix (to make it non-dairy)
- 1 1/5 tblsp. all-purpose flour
- Seasoning: Garlic salt, chili flakes, oregano

Directions:
- In a large pot, bring water to a boil.
- Pour in pasta and give a stir and cook for about a minute and half.
- Add broccoli florets in with the pasta (saves time and dishes) and cook for about 8 minutes until pasta is cooked and broccoli is bright green and a little tender.
- Meanwhile, in a small pan over low heat add about 1 1/2 tblsp. of olive oil and garlic.
- Once garlic starts to cook, add in flour (add a little bit at a time and mix well with a wooden spoon, you may not need all of the flour).
- To the garlic, add the chili flakes, garlic salt, and oregano.
- Add milk to the garlic mixture a little bit at a time, mixing thoroughly with the wooden spoon after each addition. The mixture will thicken up very quickly. Continue to add a little bit of milk, stirring after each addition, until the sauce is the consistency you want.
- When the pasta and broccoli is done, strain them both well and then add them back to the pot.
- Add garlic sauce to the pasta and broccoli and stir until pasta is evenly coated with the sauce.


You may also want to try:
- Rather than boiling the broccoli with the pasta and making the sauce separately, spread the florets on a baking sheet with ample olive oil, garlic, and seasoning and roast in the oven at 350 degrees until broccoli begins to brown. Add broccoli and garlic to the pasta and enjoy! (Add diced roma tomatoes to the roasting sheet for additional liquid, flavor, and color.)
- I've also made this recipe without any milk or Mocha Mix, you may just need to add a little bit more olive oil if you choose to do this and just skip the milk/Mocha Mix step.

April 18, 2012

Potato Wedges!!

A little information about me...I love potatoes. Never met a potato I didn't like (except for this weird Mediterranean recipe my mom made once...yuck!). Every so often, I crave French Fries but don't want to deal with the mess. This is an easy, quick, tasty, and probably much healthier alternative.

Ingredients:
- 3 Russet potatoes (Make more, make less, doesn't matter to me! I also leave the skin on.)
- Seasonings: Salt, pepper, garlic salt, chili powder, Essence (Yes, like Emeril....it's delicious and you'll start putting it on everything!)

Directions:
- Preheat oven to 420 degrees.
- Cut the potatoes in half the long way, then cut four wedges out of each half. (8 wedges per potato)
- Put potato wedges into large mixing bowl or large Zip-Loc bag.
- Add enough olive oil to evenly coat the potatoes (about 1/4 cup)
- Sprinkle in a lot of seasoning (definitely needs a bit of salt, but use chili powder and Essence to taste) then use your hands to toss the wedges in the bowl until they're evenly coated with oil and seasoning.
- Lay potatoes onto a baking sheet flesh side down. It is important that all of the wedges by flat on the baking sheet. If they're not, they may not get as crispy and delicious.
- Place baking sheet in oven for approximately 30 minutes.
- Remove baking sheet and use tongs or a spatula to flip the wedges over so the other flesh side is face down on the tray, then place tray back in the oven for another 30 minutes.
*I'm a firm believer that the darker brown the potato is, the crispier it is, the better it is! Simply check on the potatoes often to make sure they're the consistency you want.
 
*You can also use this same recipe to make potatoes on the grill!! Just place the wedges flesh side down on the grill over medium heat and cover for about 15 minutes, then flip to the other side for another 15 minutes to get nice char marks. Then, move potatoes to a top rack so they are off of direct heat, and cook for another 20 minutes or so. Yum!

April 15, 2012

Pasta a la Tyagi

My friend and I have an understanding, if we make something yummy, we bring some of it to work in a Tupperware for the other to eat. Then, when we return the Tupperware, we fill it with something delicious as a "Thank You." This is a recipe for a dish that I received as a "Thank You."

Ingredients:
- 1/2 package of Egg noodles (either the short skinny ones typically found in chicken noodle soup or the whole wheat egg noodles)
- 1 package of grape tomatoes quartered
- 1 diced medium yellow or red onion
- 1/2 package of frozen peas
- 2 tablespoons of mustard seeds
- Seasonings: salt, pepper, chili flakes, chili powder, cayenne pepper to taste

Directions:
- In a medium sauce pan, bring water to a boil to cook the pasta until al dente. The thin pasta cooks very quickly so keep on eye on it. Strain the pasta before adding it to the rest of the ingredients.
- In a large skillet, pour about 1 tablespoon of olive oil over medium heat and add mustard seeds. PUT THE COVER OVER IT!! The seeds will start popping and will get all over the place if you don't.
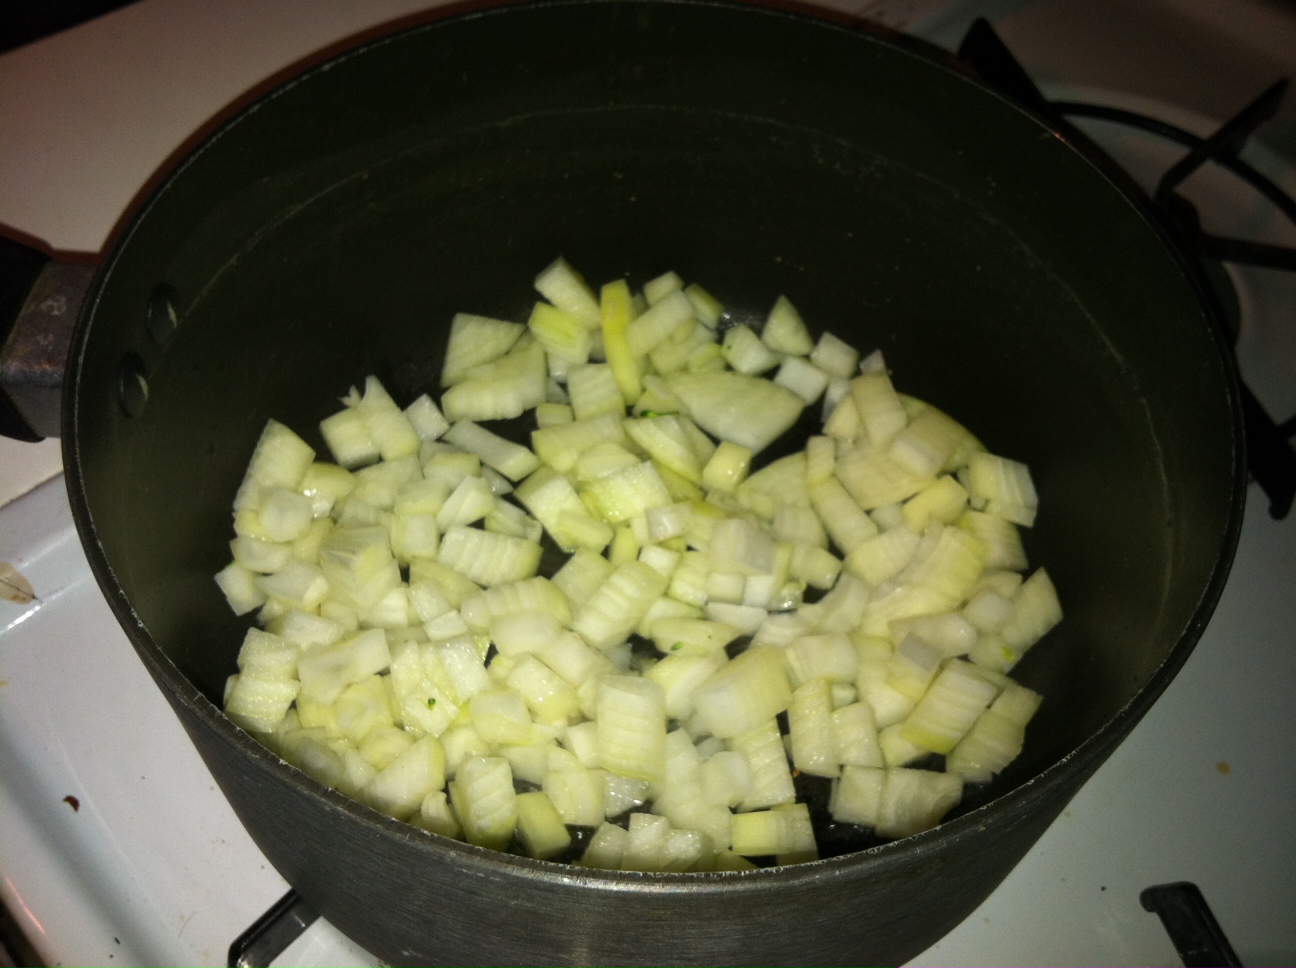
- Once the popping starts to slow down, add the diced onion into the skillet and stir with a wooden spoon until onion starts to become translucent and/or brown. Add chili flakes.
- Add tomato pieces and cook down until most of the liquid is gone (approximately 5 minutes).
- Add desired seasoning (Tomatoes and pasta absorb a lot of the flavor so don't be frugal with your seasoning).
- Add in frozen peas and stir until they are bright green.
- Add in cooked pasta and stir for approximately five minutes. Taste and add seasoning as needed.

April 9, 2012

Kosher for Passover Chocolate Chip Cookies?!?


Yep, that's right, Kosher for Passover Chocolate Chip Cookies. And you know what, they taste pretty good! Who knew?!? (Psst....they're also dairy free. Of course, you can make them dairy, but what's the challenge in that?)

Ingredients:
- 3 eggs
- 1/2 cup of margarine (or butter)
- 1 cup of sugar
- 1 cup of cake meal
- 1/2 cup of potato starch
- 1 package of chocolate chips (check the label to see if they're dairy or Kosher for Passover)

Directions:
- Preheat oven to 350 degrees.
- In a small bowl (I use a paper plate), combine cake meal and potato starch and set aside.
- In a large mixing bowl, beat together eggs, sugar, and margarine until well combined.
- While beating the egg/sugar/margarine mixture, slowly incorporate the cake meal and potato starch. Add a little at a time and beat until well combined.
- Pour in chocolate chips and stir with a spoon until the chips are evenly distributed in mixture.
- Drop spoonfuls (or use a chocolate chip cookie scoop) evenly spaced out on a cookie sheet.
- Bake in the oven between 13-15 minutes.
- When you remove the cookies from the oven, take them off the tray and place them on a sheet of foil or a cooling rack to cool.

*If you want them to be Kosher for Passover and/or non-dairy, be sure to check the labels on all of your ingredients.

February 28, 2012

Kickin' Quinoa


So, Quinoa...what is it? When it's cooked, it kind of has the texture of couscous/rice but it's actually a seed, high in protein, gluten free, and pretty good for you. I guess people are kind of turned off by it because they're not quite sure what to do with it. Well, this is what I do with it....

Ingredients:
- 1 1/2 cups of quinoa
- 1 or 2 jalapenos diced pretty small (depends on how spicy you like it)
- 1 medium sized onion diced
- 5 roma tomatoes (4-5 depends on size, seeded [take out the juicy insides] and diced)
- 3 cups of water or stock (if you make less quinoa, the rule is 2 to 1 water to quinoa)
- Seasonings: Bouillon powder, salt, pepper, chili powder, and garlic salt taste

You may consider:
- Broccoli florets or asparagus spears (cut into 1 inch pieces after roasting) drizzled with olive oil and salt, roasted in the oven at about 425 degrees until they start to caramelize (about 10-15 minutes). Add them to the finished quinoa....it's delicious!

Directions:
- In a medium sized sauce pan over medium/high heat, drizzle in about 1/2 tablespoon of olive oil and then add diced onion. Cook onion until it starts to brown and caramelize (approximately five-six minutes) stirring often with a wooden spoon.
- Add in jalapenos, and cook for another 2-3 minutes stirring often.
- Add in 3 of the diced tomatoes and cook for yet another 2-3 minutes.
- Add in dry quinoa and stir ingredients together. Cook ingredients together for 2-3 minutes. Quinoa is going to stick to all the jalapenos, onion, and tomatoes....that's totally fine.
- Pour in water/stock and add seasoning and give a stir. Just so you know, you don't want to be frugal with the seasoning, quinoa doesn't have a whole lot of flavor on it's own.
- Bring the water to a boil and then cover and reduce heat for approximately 15-20 minutes. Keep an eye on the quinoa!
- Once all of the water has been absorbed, add in the rest of the diced tomatoes and the roasted vegetables (I highly recommend the roasted veggies! They add a lot of good flavor.)

If you're not quite ready for quinoa, you can do the same recipe with Israeli couscous (the large couscous...the basically tiny balls of pasta). The only difference you'd make is that the water needs to be boiling before you add it to the couscous and it doesn't need to cook quite as long.

December 25, 2011

Ch-Ch-Ch-Cholent!!!

Cholent is a traditional Jewish dish that people would prepare for the Sabbath (or Shabbat). Shabbat starts every Friday night and lasts until sundown Saturday, and during this time, Jewish people are not supposed to cook. So, people would prepare cholent in a pot on Friday, let it cook overnight, and then eat hot delicious food all day Saturday. I have had a lot of different cholents (everyone makes it differently), but this is how I make mine:

Ingredients:
-3 to 4 Russet potatoes (peeled and cut into thick chunks approximately 1.5 inches thick)
-1 frozen Kishke (Kishke is traditionally meat product wrapped in intestines, but nowadays, they sell both meat and vegetarian or "Parve" options at Kosher markets. It is in the frozen section and they are covered in wax paper that must be removed before putting into the crock-pot.)
-1 to 2 diced green bell peppers
-1 diced large onion
-1 can of diced tomatoes
-1 cup of pearl barley (approximately 1 cup)
-3 to 4 whole cloves of garlic
-water (enough to cover ingredients)
-Seasonings: Bouillon powder (I typically use non-meat chicken soup bouillon), salt, pepper, garlic powder, paprika (Add a lot of seasoning since everything will get watered down.)

Ingredients you may want to add:
-1 can of pinto beans
-eggs (whole, uncooked eggs will hard-boil overnight)

Ingredients you should definitely add if you like spicy:
-diced fresh jalapenos
-dried Thai chili peppers
-chili powder
-chopped chipotles (I added a few once and it came out pretty tasty)

Directions:
-In a large crock-pot, put barley, tomatoes, bell pepper, onion, and garlic. (Optional: add jalapenos, Thai chili peppers, and pinto beans)
-Peel off the Kishke's wax coating and push it down into the center of the ingredients.
-Place potato pieces all the way around the Kishke.
-Add seasoning to taste (Be sure to add A LOT of paprika)
-Fill crock-pot with water until the Kishke and potatoes are covered. (Optional: If you want eggs, place the eggs on top of the potatoes. Be sure they are submerged in water. When you are ready to eat the cholent, take out the eggs and peel them.)
-Cook on low for approximately 24 hours.
-Stir mixture at some point in between and add water if necessary.

As I said, everyone makes cholent differently. Once you have one recipe under your belt, feel free to come up with your own concoction. You may want to add meat such as chicken thighs (on the bone) or minute steak (it falls apart and is super tasty). A lot of people use a mixture of dried beans instead of canned pinto beans (there is a mixture that is actually labeled "Cholent Mix" at the regular market). Some people put in the bagged rice things in the morning (rice does not need to cook overnight, putting it in in the morning is fine). Really, you can put anything you want in cholent.

Cholent is a great dish to make at the beginning of the week because you have a hot meal waiting for you when you get home, and if you separate it out into tupperware, it reheats really well as lunch for the rest of the week. You may also freeze it and microwave it later on whenever you're in the mood for cholent.